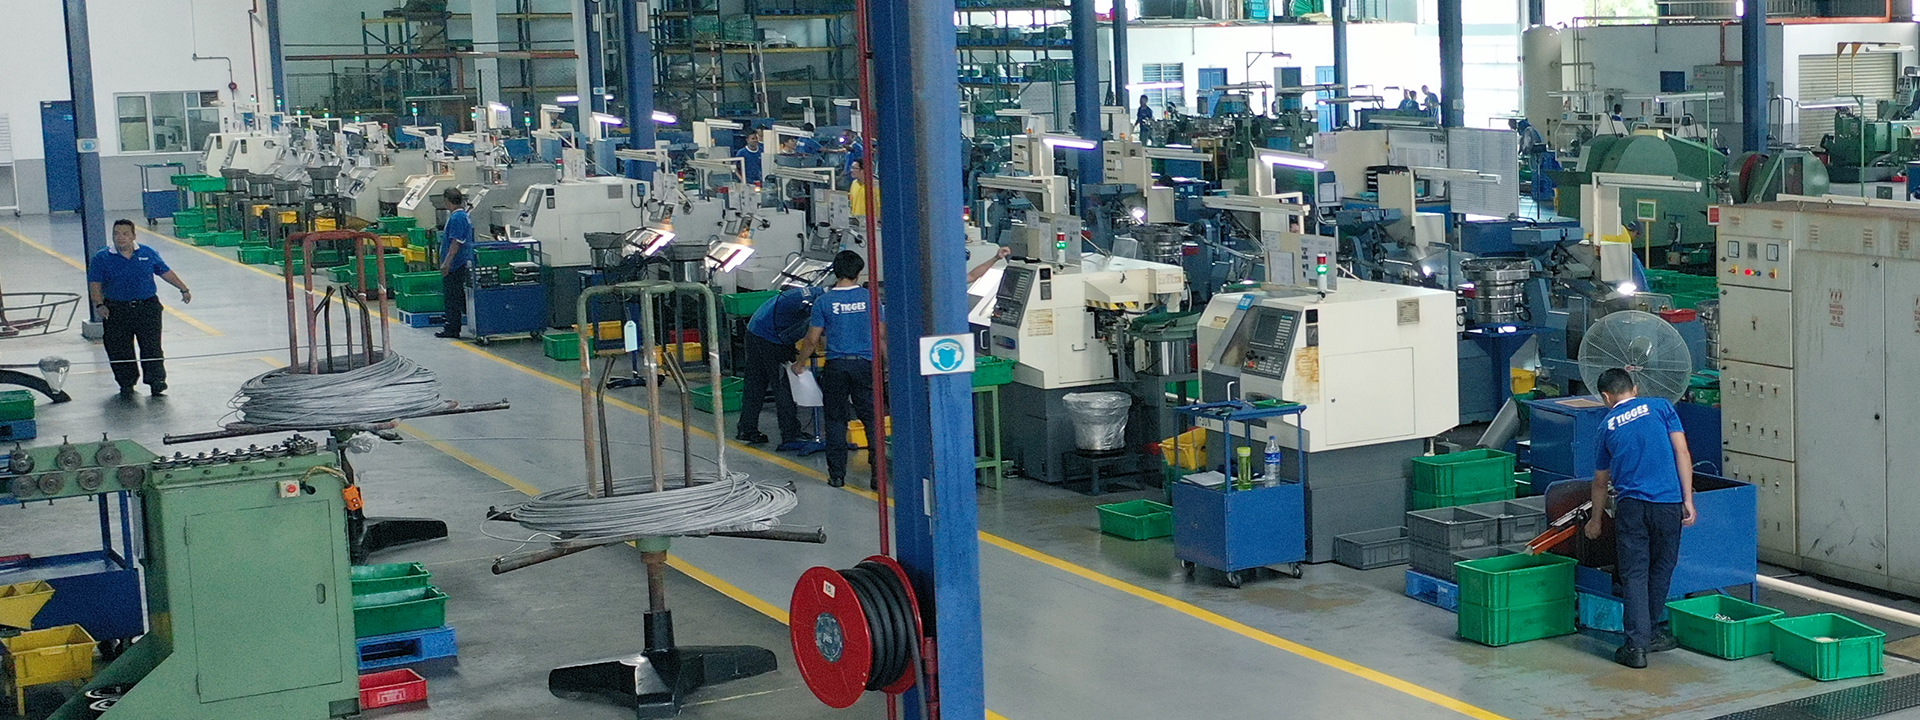
Post-turning: Dimensionally accurate finishing of fasteners and formed parts
While many components are ready for use after forming, certain applications require further processing. This is where post-turning comes into play – a precise additional production step to fulfill requirements that cannot be met by cold forming.
With this targeted finishing process, we create defined final dimensions, ensure the required accuracy of fit and correct shaft lengths, diameters or head geometries in a targeted manner.
- Shape and dimensional correction: Post-turning for defined geometries and tolerances
- High repeat accuracy: CNC-controlled processes for series-capable dimensional accuracy
- Can be combined with forming: as an integrated production step without media discontinuity
- Customization to desired dimensions: also possible with varying series lengths and diameters
- Component-specific implementation: tailored to material, function and installation
- High efficiency: thanks to automated feeding or robots
Our processing methods
TIGGES combines chipless forming technology with mechanical finishing. Post-turning takes place directly in our own machine park and is fully integrated into the production process.
Precise, economical, stable
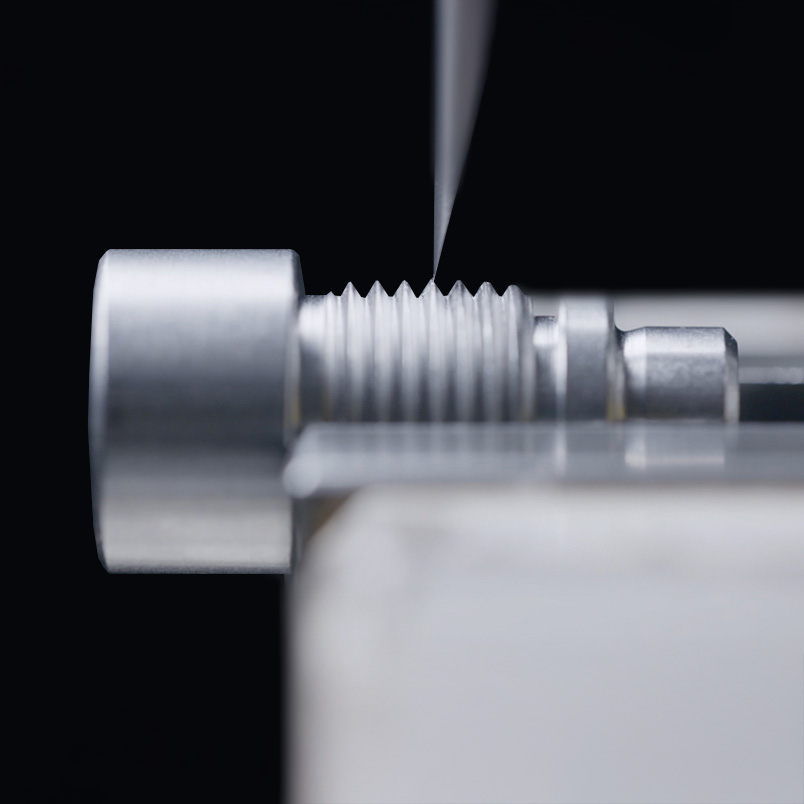
In post-turning, we rework cold-formed components – e.g. by shortening, adjusting diameters or adjusting head contours. This form of tolerance machining is particularly suitable for fasteners and formed parts with tight length or roundness specifications.
Processing is carried out on CNC-controlled machines and is process-reliable, dimensionally accurate and suitable for series production.
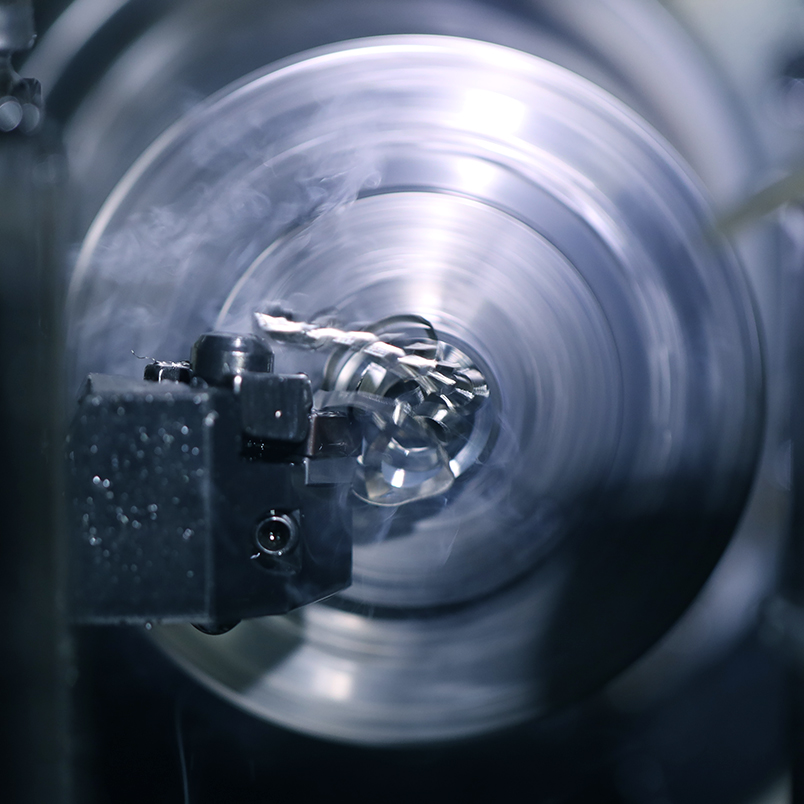
Function through dimension: dimensional correction as a production strategy
In certain cases, post-turning is not a correction step, but an integral part of the component design. A preform is deliberately created by forming, which is then mechanically adapted to the final dimensions – for maximum material utilization and exact fits.
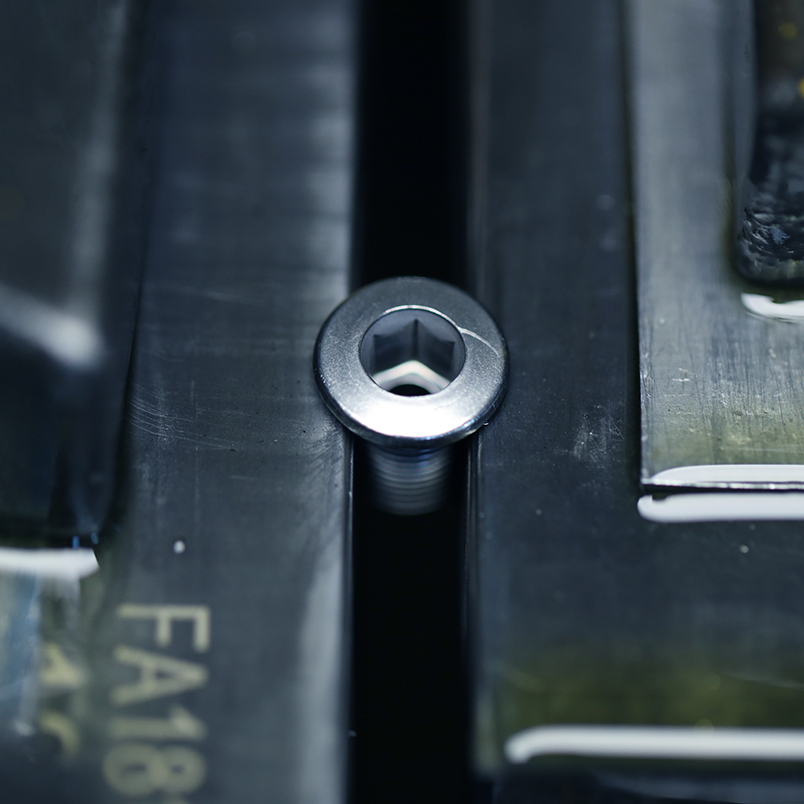
Integrated process: Post-processing of formed parts without media discontinuity
Thanks to our high level of vertical integration, all processing steps are carried out in-house. From wire to cold forming to final machining, all steps are documented and checked here – without any relocation or process losses. This saves time and increases process stability.
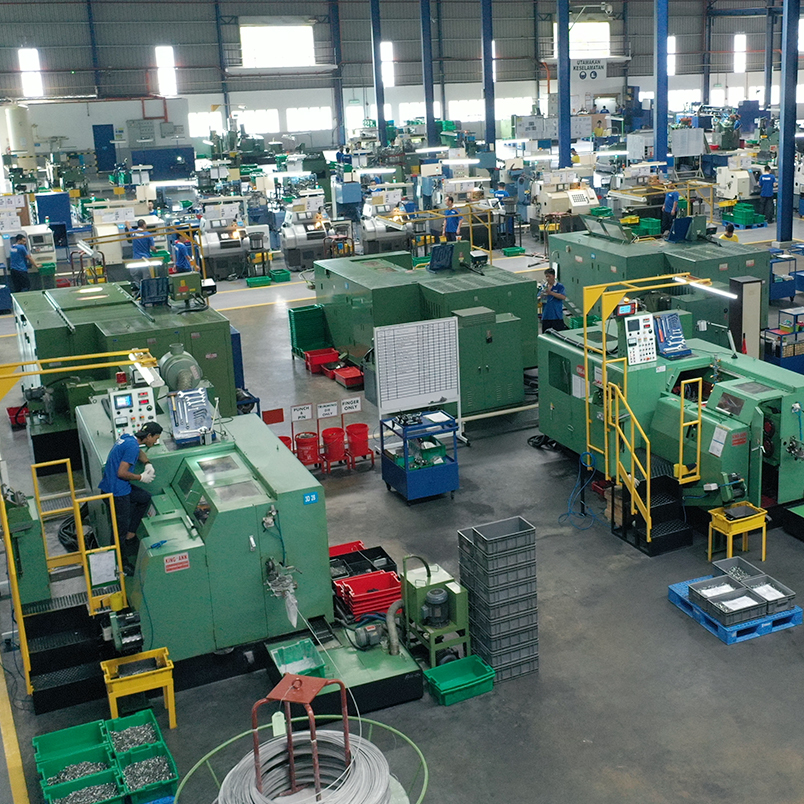
Sorting, checking, packing: ready for your place of use
Our parts pass through automatic testing and sorting systems. Characteristics such as length, diameter, roundness or thread depth and much more if required are checked using cameras and lasers. C-sorting ensures that only flawless components are further processed or delivered. They are then packaged – sorted, labeled or as a ready-to-install assembly.
Outgoing goods quality
In addition to our strict process control, no product leaves our premises without being checked and recorded for all dimensions, tolerances, mechanical properties and even appearance requirements. In this way, we ensure that our customers only receive parts that fully comply with the specifications.
Thanks to our own laboratory, we are able to use any measurement technology – from projector, contracer, hardness and tensile tests to automated optical inspection.
Individual test plans are drawn up for each product, in which not only all tolerances, mechanical properties and appearance requirements are defined, but also the specification of the tests that are carried out before release and delivery to our customers.
PPAP according to IATF 16949
As an IATF 16949-certified company, we offer PPAP, a professional production part approval process for sampling series parts. For product and process approval, we provide the required measurement, material and functional reports on standardized forms – also paperless – and ensure an efficient exchange in the approval process.

100 % control through optical sorting
In many cases and in today’s automated assembly lines, 100% inspection has become the norm to ensure that parts are delivered close to “zero ppm”. To achieve this, state-of-the-art automated inspection machines are required.
With a variety of optical inspection machines and even eddy current machines for testing internal cracks and hardness, we can deliver parts that are 100% inspected. Our machines inspect every single part with a throughput of up to 500 pieces/minute to enable high volume inspection.

Mechanical tests
An extensive range of equipment is available for testing the mechanical load-bearing capacity, with which the physical product properties such as tensile strength, torque and hardness are tested. The testing department also serves as a laboratory for the in-house development of product variants, e.g. for optimized Standard screws with increased strength.

Precision down to the µ
To ensure dimensional accuracy, we use state-of-the-art measuring methods, including a Mitutoyo Contracer for high-precision contour measurement, camera systems and digital projectors that check up to 500 parts per minute with 20 µ accuracy. This enables us to meet the required product quality, which benefits your production reliability.

Sustainable quality
Our experience with materials and expertise in surface treatment results in connecting parts with a perfect balance of application, resistance and cost-effectiveness. A test laboratory with chemical-physical testing equipment is available for this purpose, including a salt spray system, which provides information on corrosion resistance and gives us a significant competitive edge, e.g. in the offshore industry.

Certified quality
Our quality management is certified in accordance with ISO 9001 and IATF 16949. In addition, we meet and exceed many industry and company specifications.

Tested quality
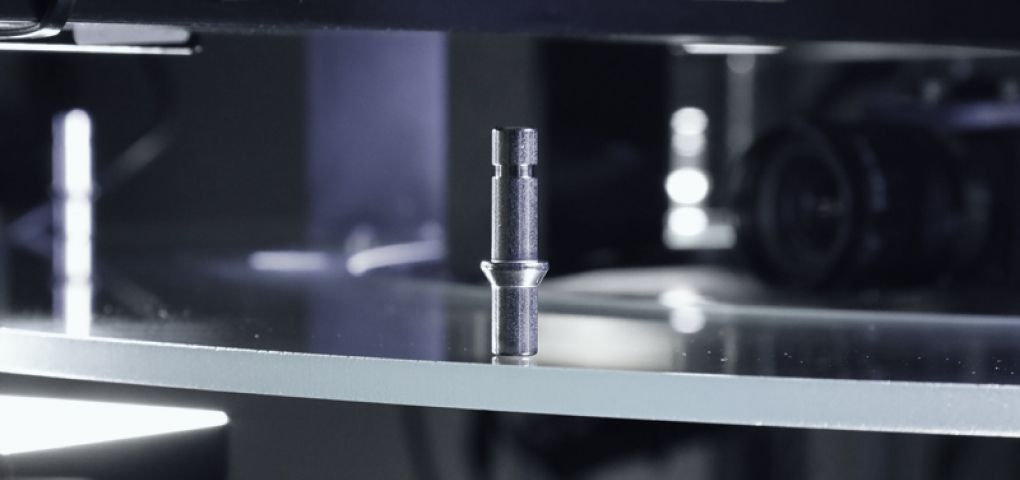
Also for fine machiningOf course, post-processing is also subject to the same quality standards as all TIGGES processes. The tools used, the tolerance ranges and the processing steps are continuously monitored and documented.
Our quality assurance is certified in accordance with IATF 16949. The traceability of individual batches and the inspection of final dimensions take place directly after post-turning – inline or offline.
Frequently asked questions – we are happy to answer
Whenever certain dimensions or geometries cannot be achieved precisely by forming alone. This applies in particular to defined lengths, roundness specifications or fits with tight tolerances.
Head lengths, shank diameters, radii, chamfers or recesses are typical. Thread preparations can also be supplemented by targeted turning.
Yes, thanks to CNC-controlled machining, automated efficient feeding and integration into our production lines, post-turning is also economically feasible for medium and large quantities – with high dimensional repetition at the same time.
Our team at Tigges can help you
Use our contact form
Technology (M) Sdn. Bhd.
Telefon: +60 (0) 5 29 22 781
Fax: +60 (0) 5 29 11 050
E-Mail: info@tigges.com.my